
|

|
|
|
My RV-8 build
|
Date: 11-22-2013
|
Number of Hours: 6.00
|
Manual Reference: Page 8-41
|
Brief Description: Bottom floors #2
|
|
After all of the parts were scotchbrited, cleaned and marked, the priming began.
With my single car garage, and the tempature below zero last night, I donned my handy breathing mask with the proper 3M filters to allow me to work in the garage while spraying the primer without inhaling any of the bad fumes. Once the priming was done, I opened the garage door, let all that cold air in and flushed the garage out.
After about 20 minutes of the air being circulated out of the garage, the door was closed, heat put back on and I started riveting the foot wells. With the foot wells, you need to make sure that you have lots of table corners at the ready along with your back riveting plate...pretty easy stuff.
The hinges for the seat backs were a differnt story. After clecoing the hinges to the floor, I end up using my tungsten bucking bar under the rivet on the table and then shot the AN470 rivets..worked like a charm.
The hinge for the rear seat is actually cut into in 3 places so that it will accomodate the removeable floors.
The stiffeners were back riveted in place, leaving the forward ones to doo at a later date.
With the flap blocks, I decided to put both halves of the floor together, bolt down the blocks, and then drill the #10 hole through the floor on both sides. I will then match drill this hole into the longeron and add a nutplate. I also have to replace the 2 previously installed nutplates...put the wrong ones in! Lots done today.
|
|
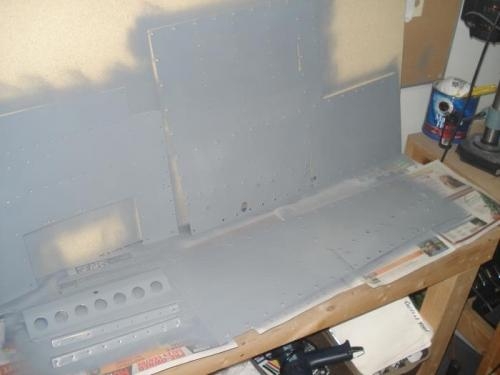
All floor parts primed
|
|
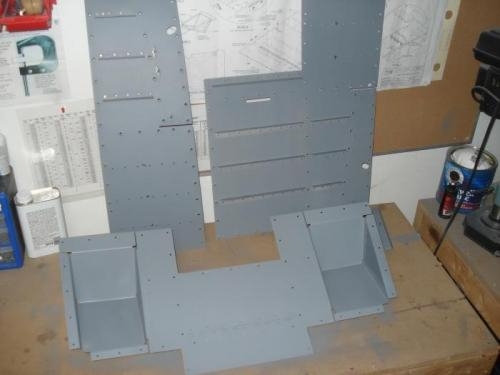
Left, right, and front floors and foot wells riveted
|
|
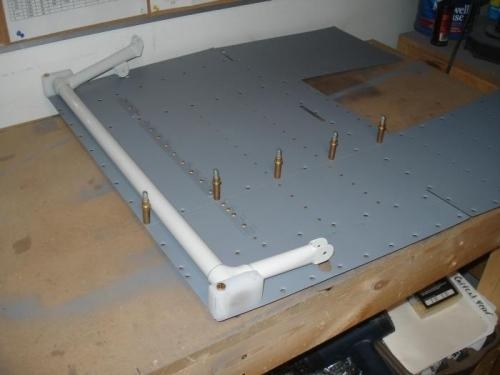
Drilling the flap blocks
|
|
|
|
|
|
|
|
|
Copyright © 2001-2024 Matronics. All Rights Reserved.
|